Are your photos looking a bit soft and blurry? If so, you may need to work on your photography skills to take sharp photos. Luckily, there are plenty of tips and tricks to help you get the sharpest images.
In this article, we’ll share 13 timeless tips for taking sharp photos with any camera. So whether you’re using a smartphone or a DSLR, these tips will help you get the best results from your shots.
13 Timeless Tips to Take Sharp Photos
Keep these 13 tips in mind when you’re shooting. And you’ll come away with sharp images.
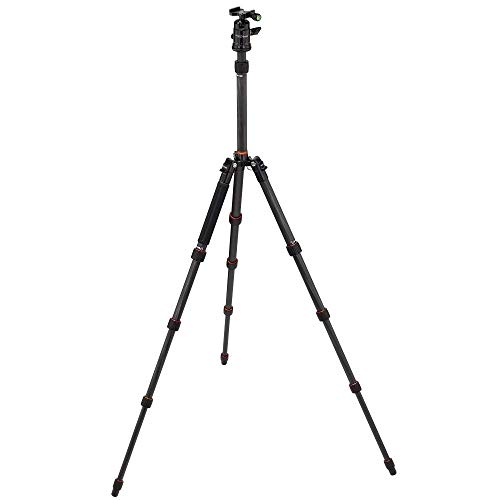
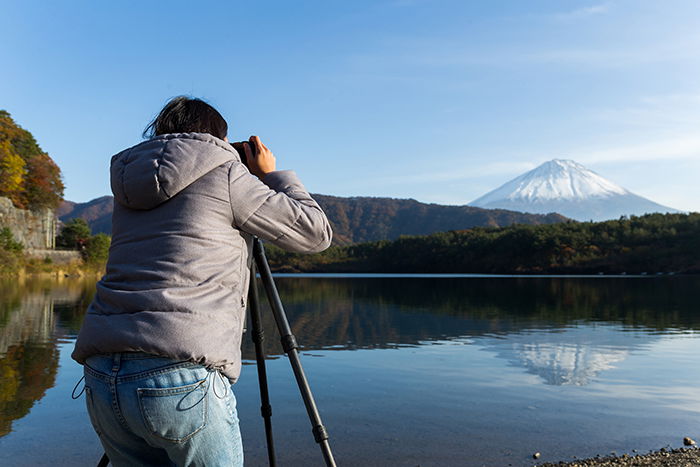
1. Use a Tripod for Sharp Photos
When a fast shutter speed isn’t an option, and your subject is stationary, it’s usually best to use a tripod.
This holds the camera steady. And the various spirit levels on a good tripod will ensure that you still get a level photo on uneven ground.
If you don’t have a tripod, try setting it on a level surface. Or, try to steady yourself by leaning against something. Try to breathe slowly and gently so your movements don’t cause the camera to shake.

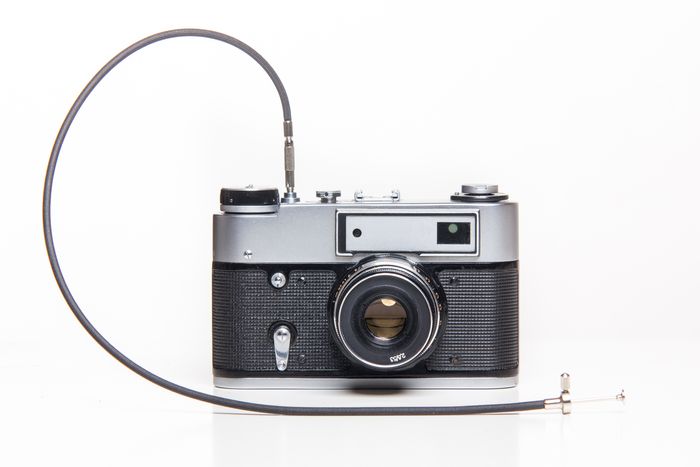
2. Use a Remote Release
Even with a tripod, the click of the shutter button can cause camera shake.
This might not seem very noticeable to you right now. But it can make a big difference whether you get a sharp photo, especially at long shutter speeds.
The best way to combat camera shake is to use an external trigger, like a remote control or a cable release. There are many inexpensive options available in the market.
Another option to avoid camera shake is to use a timer.
Putting a self-timer for even just two seconds will give the camera time to steady itself after pressing the shutter button. So when you take the shot, it will be sharp.
3. Use Mirror Lock-Up
Another source of camera shake is the movement of the mirror.
If you read the post on DSLR cameras, you will know that SLRs have a mirror that reflects the image into the viewfinder.
Every time the shutter is released, the mirror flips up. Then the light hits the sensor, and the image is created.
When the mirror flips up, it can cause slight vibrations that move the camera system. This can also cause a blurry image.
Luckily, most DSLRs have a mirror lock-up setting. This keeps the mirror up in the retracted position. So it doesn’t move when you press the shutter. This will help in creating a crisp image.
4. Shoot in Burst Mode
Try shooting in Burst mode if you’re having trouble holding your camera steady to take sharp photos.
This way, your camera will shoot many shots at the same time. Pick an image from the middle with the least camera shake. You will usually get 1 or 2 sharp images from the bunch.
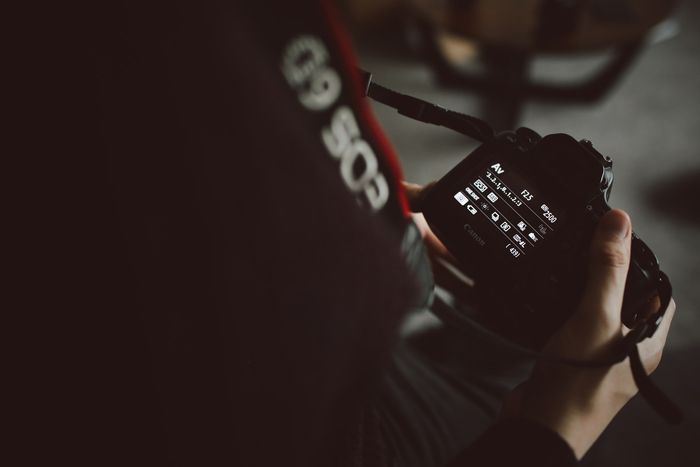
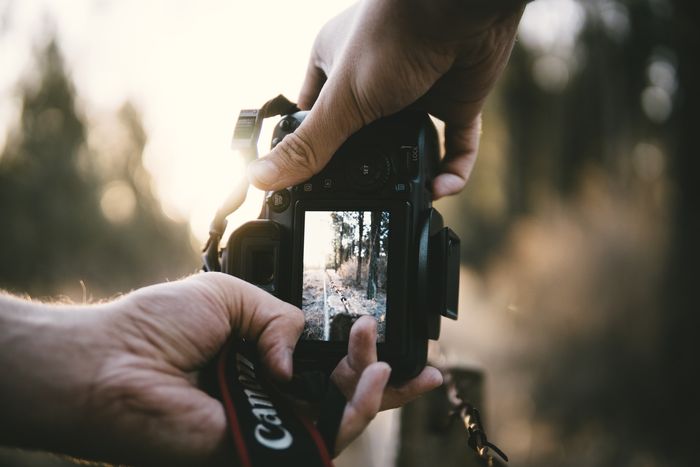
5. Pay Attention to Focus
Take the camera off auto selection and manually select the points you wish to focus on. Or use your camera’s focal lock. This will also help when you want to have a shallow depth of field.
When taking a photo of a person, I recommend focusing on the eyes. This is where our own eyes are naturally drawn to. IYou’llgenerally get a good photo. If the eyes are in focus
When using a camera on a tripod, I like to switch my camera to Live View mode and digitally zoom in 10x to where I want to focus manually. Zooming in really helps in getting the correct focus.
If you use autofocus, switch to single-point autofocus. Usually, the camera will try to create an image that is as sharp as possible.
But if you switch to single-point autofocus, the camera will focus on one point, like the center. And it will make that as sharp as possible.
Another tip to have sharp images is to press the shutter down halfway after you compose your shot. Once the focus is adjusted correctly, then press all the way to capture.
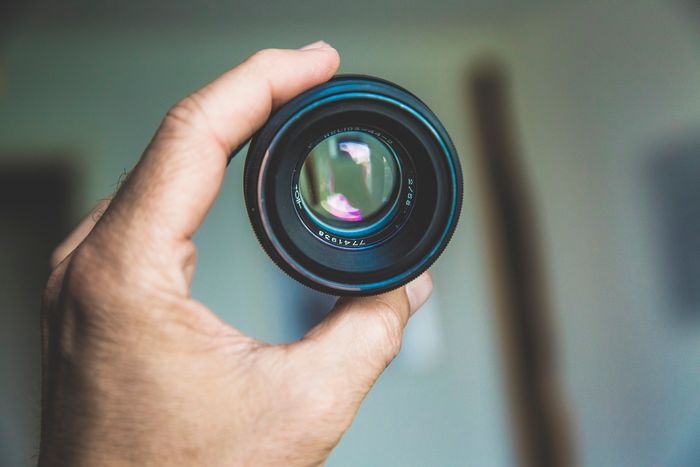
6. A Good Lens is Key
You might have a fancy camera and be amazing at photography. But your photos are only as good as the lens they pass through.
When you buy your first camera, I recommend upgrading to an inexpensive prime lens as soon as possible. A prime lens is a lens that has a fixed focal length and can’t zoom.
You’ll find an immediate improvement in image quality as prime lenses are designed with only one job. They don’t have to compromise to cover a range of focal lengths.
I recommend a 50mm or 35mm f/1.8.
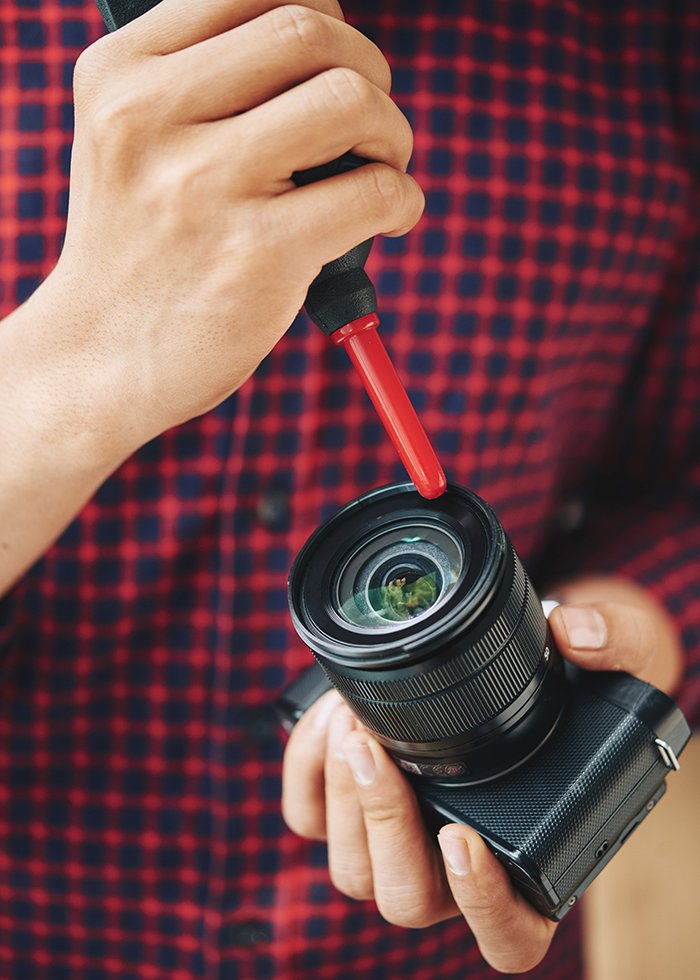
7. Keep Your Lens Clean
A great lens is no good if it’s dirty. Smudges and fingerprints on your lens can affect your photos.
But remember, dust on the front part of your lens won’t make a difference to your image. But the dust on the rear part of the lens inside the camera can make a huge difference in your photo.
If you aren’t getting clear images, remove your lens and check if there is any dust. Clean it carefully with a soft cloth or brush.
8. Turn on Image Stabilization
Turn image stabilization on if you’re lucky enough to have it in your lens.
In this mode, the camera tries stabilizing your image while shooting without a tripod. This allows you to shoot at slower shutter speeds and narrower apertures.
If you’re using a tripod, remember to turn it back off. If the camera tries to stabilize the image without camera shake, it can negatively affect your photos. And it can actually make it more blurry.

9. Use a Fast Shutter Speed
When trying to take sharp photos, the last thing you want is motion blur. This is the most important step. So make sure you get it right. In general, the faster the shutter speed, the sharper your photo.
As mentioned in our post on shutter speed, as a rule of thumb, the average person can take a sharp, unblurred image by setting the speed to a fraction of a focal length.
For example, if you want to take a photo at 30mm, you would set the shutter speed to 1/30 of a second. A slower shutter speed increases the chance of motion blur.
But it’s worth noting that this rule is only relevant to full frame cameras. Due to the magnification effect, you would be better off choosing a shutter speed of 1/45 s for a crop sensor
10. Use Your Base ISO
Set your camera ISO to as low as it will go, usually between 100-200, where you get the sharpest photos. The higher the value, the more noise there will be.
You want as little noise as possible for clear, crisp photos. Remember, though, that a low ISO will mean you might have to increase your shutter speed to maintain the exposure.
It is all about finding a balance between the two settings. This will give you a properly exposed shot that is also sharp.

11. Find Your Lens’ Sweet Spot
The sharpest point in your lens is usually two or three stops smaller than the widest aperture. For most lenses, this will likely be between f/8 to f/11.
But too small an aperture can cause lens diffraction, negatively affecting sharpness. If you don’t understand aperture, I suggest you go back and read this post now.
Using a wide aperture gives you a shallow depth of field, which also results in a lot of blur. When you get to about f/8, you’ll find that images are much crisper. Most of your shots will be in clear focus.
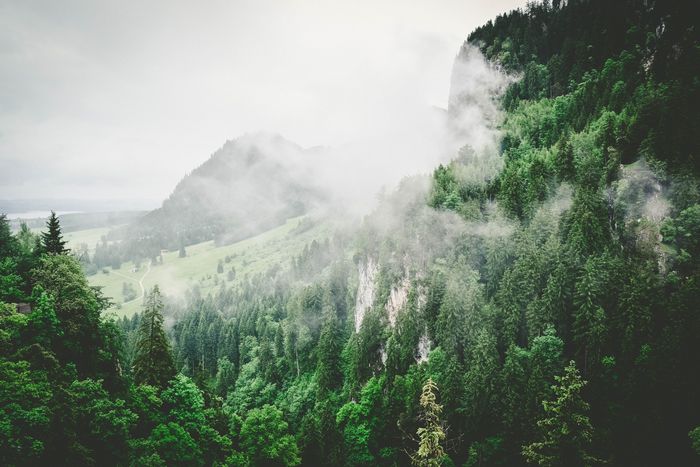
12. Take Advantage of Light
To get sharp images, the more light, the better. This lets you keep your shutter speed fast, your ISO low, and your aperture small. In addition, many cameras have trouble focusing in low-light situations.
I use an off-camera flash when I can’t use daylight but want a really sharp photo. I try bouncing light off a wall or ceiling to make the photo feel like there was good natural lighting.
Lighting is key to taking sharp images.
13. Shoot in RAW
Shooting in RAW has many advantages. You can still adjust a lot of settings after you’ve taken the photo. One of these settings is sharpness.
If you are editing your images in Lightroom, you can increase the sharpness in the Develop module. Just go to Develop > Detail > Sharpening.
If you are editing in Photoshop, you can add the unsharp mask. Just go to Filter > Sharpen > Unsharp Mask.
When done properly, it can add excellent final detail to a photo. But make sure not to overdo it! Photos that are too sharp are a strain to look at.

Conclusion: How to Take Sharp Photos
Taking good photos depends a lot on how sharp you can get them. No one wants to see blurry photos. If you struggle with it, bookmark this page ad follow these tricks to take sharp photos.
Remember that every slight movement makes an impact. So even if you think it doesn’t make a big difference, the outcome will reflect it.
Want to learn more about basic photography techniques? Check out our course Photography for Beginners next!