
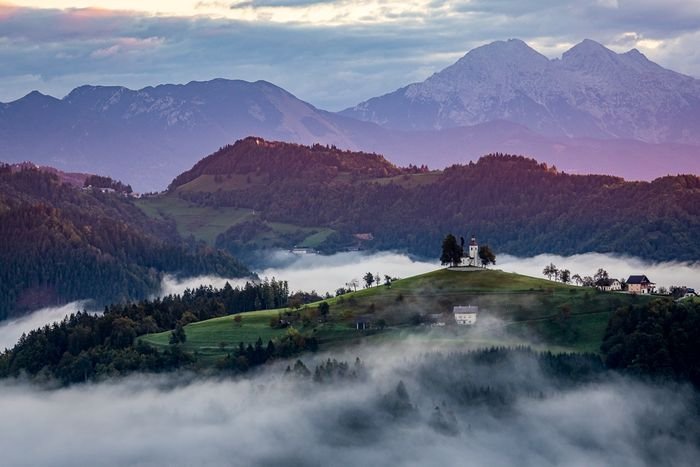
If you have ever wanted to know one sure way to make your landscape photos stand out, it is to photograph them in mist or fog.
As the sun rises, the foggy landscape transforms into an atmospheric and surreal setting. The potential of a great photo is there — but it takes some effort to get it right.
Here are some tips to help you capture those atmospheric shots.
Exploring Fog Photography: What’s the Difference Between Fog and Mist?
Before you can take create an excellent mist or fog photography, it is worth knowing what they are and how they can affect your photos.
Both fog and mist are created by water droplets. There are some differences, though.
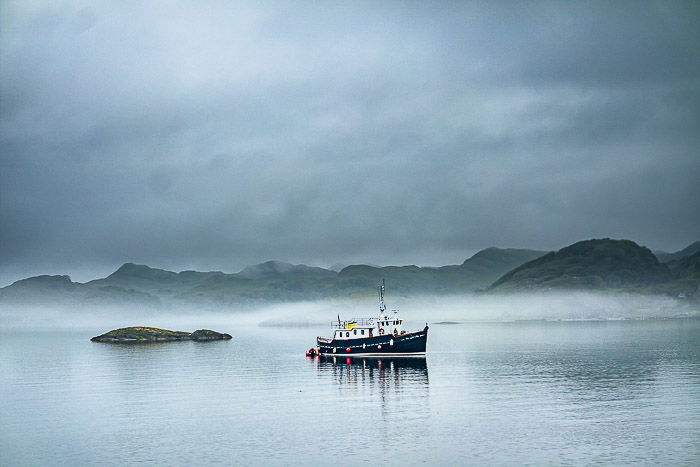
Fog is a cloud that reaches ground level. Mist forms when water droplets are suspended in the air.
Fog is denser than mist and will often last longer. It also reduces visibility more than mist. This means that you may not be able to shoot as far into the distance as when it’s misty.
Knowing this will help you plan your shoot and locations beforehand. If you are planning on photographing some mountains, you may not be able to see them when it’s foggy.
Because both fog and mist are created by water droplets, make sure to have a weather-sealed camera body and lens. You wouldn’t want to sacrifice your equipment, not even for a stunning fog picture.
Location Scouting for Foggy and Misty Images
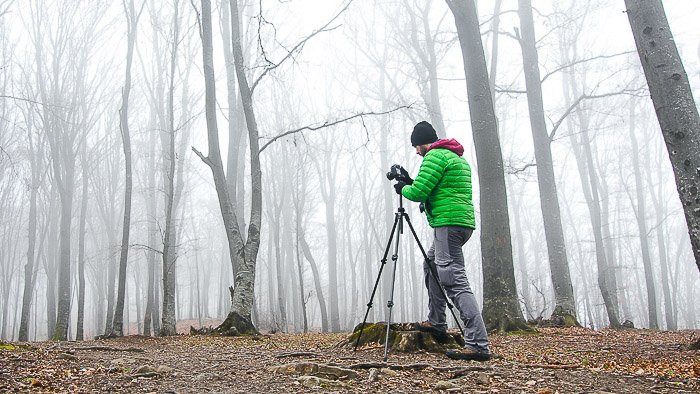
To be able to capture photos of mist or fog, your first challenge is being there when it occurs. This requires some planning as well as some spontaneity so that you can get to a location at short notice.
Monitor the weather forecasts and be ready to act as soon as there is a chance of fog or mist.
You also have to know the location you are going to be shooting from. Fog might last longer, but mist disappears quickly.
You need to have a list of locations you have already scouted. This way, you don’t have to waste any time looking for one.
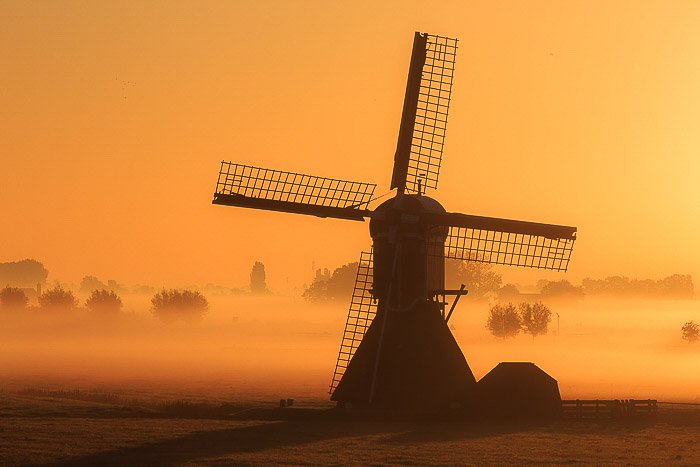
The best time to photograph either phenomenon is early morning. So set your alarm early and aim to get to your location one hour before sunrise.
Start taking photos straight away, as you can capture some nice early morning shots before the sun has risen. The most important thing is to be ready for sunrise where you are expecting to get the best light source.
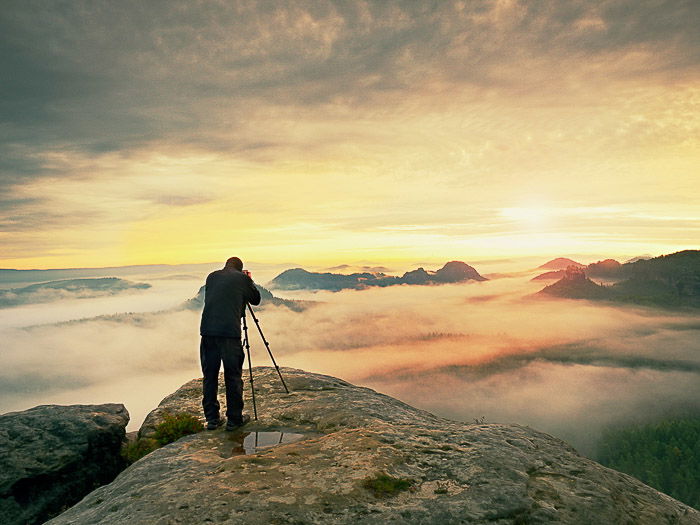
The ideal way to photograph mist or fog is when it is lit from behind. For example, when the sun in front of you. So try to position yourself accordingly.
The Best Camera Settings for Fog and Mist Photography
In fog or mist, it is not always easy to capture great photos. As advanced as modern-day DSLRs are, they can still get tricked by the scene in front of you.
In the case of fog or mist, your two big issues will be focusing and exposure.
The fog or mist acts as a diffuser or softbox, so you will notice a lack of contrast. This contrast in a scene is what the camera’s autofocus uses to focus on.
If you have ever tried taking photos in these conditions, you may have noticed that the camera tries to focus, but is unable to. Often, the solution is to try to use manual focus. This way, you can have full control of where your focus will be.
To be able to do this well, you need to find a point of interest to use as a focal point. Using a greater depth of field will also ensure more of your photo will be sharp and in focus.
The recommended depth of field would be between f/6.3 and f/11, depending on how much detail you want to outline.
The second challenge of shooting in foggy conditions is getting the correct exposure.
Whenever you are photographing a vast area which looks white, your camera’s in-built light meter gets deceived. Because of all that white mass, it will try to reduce the amount of light entering the camera.
As a result, it underexposes the shot. For example, take a photo of someone dressed in white in front of a white background. You will see that the white areas look grey.
To combat this issue, you need to override the camera and so overexpose your image. This override is called ‘exposure compensation‘.
For effective mist or fog photography, you will need to set 1/2EV to 1EV exposure compensation.
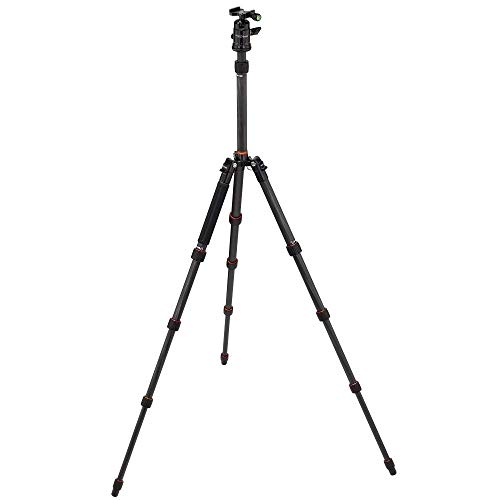
Use a Tripod to Keep Your ISO Low
You will often be facing low light conditions, so you also need to ensure that your photos don’t suffer from camera shake. It is essential that, whenever possible, you use a sturdy tripod.
This will allow you to keep your ISO low and have a greater depth of field. Also, your mist and fog clouds will look smoother due to the longer exposure resulting in motion blur.
If you cannot use a tripod, then your only alternative is to raise your ISO.
This means you can have a shutter speed which is fast enough for handheld photography. But be aware that the more you raise your ISO, the more noise will appear in your photo.
Consider your Desired Result When Choosing a Lens
The lens choice depends on your set and the type of landscape you photograph.
A telephoto lens compresses fog, while a wide-angle lens makes it look more spread-out.
In a rather dense fog, a telephoto lens will make the fog look even denser. This becomes a bit of a challenge when you try to make your subject stand out.
A wide-angle lens, on the other hand, will make the fog look thinner — which may also not be the result you want to achieve.
At the end of the day, you have to consider which one suits the weather conditions better and which part of the scenery you want to show.
Use ND Filters to Add Drama to Your Fog Photos
ND filters can act as a support for long exposure images to make the fog and mist smoother. This way, you can end up with an extraordinary and abstract photograph.
ND filters are also beneficial for the dynamic range in more contrasty lighting conditions. But, sometimes, they can darken the scene so much that it is hard to use autofocus or find the best focus point manually.
That is why you should set the focal point right before applying the ND filter on the lens.

Compose Your Shot to Achieve More Contrast
Misty or foggy conditions will lower the contrast levels in a scene. Our eyes can adjust and give us that sense of depth, but the camera cannot do so.
Without careful consideration of the composition, your images will look flat. The best way to achieve this depth of field in your photo is to think of it as layers. Each layer represents a point of interest.
The closer that layer is to you, the more pronounced those edges will look and so it will stand out more.
Try to compose your shot with different elements to give that sense of depth in the image.
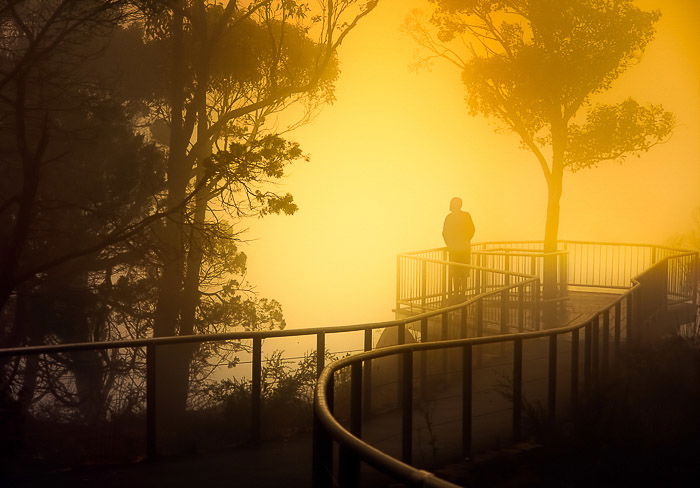
Even if that means something is in the distance and you can only see a silhouette. If you combine it with other elements in the foreground, it will give a pleasing result.
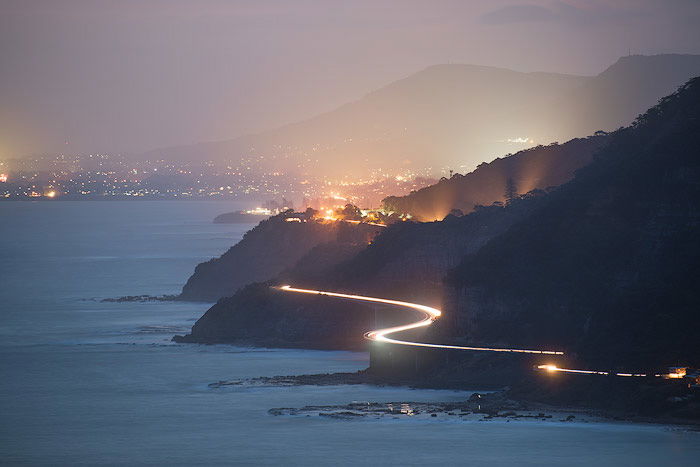
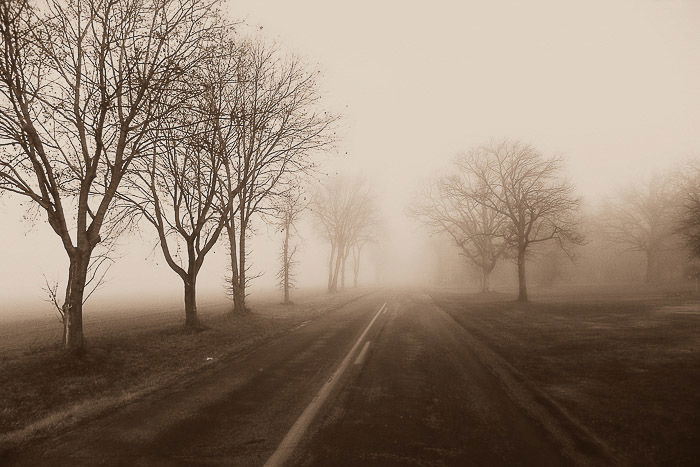
There are other compositional techniques you can use to frame your shot as well. Considering the leading lines in your scene can be to your advantage. For example, a leading line could be a road that starts in the foreground and disappears in the distance in the fog or mist.
If you can build your composition with different layers, you will end up with a far more intriguing image.
Conclusion: Fog Photography
Mist or fog photography can provide some of the most stunning landscape shots. If you have the opportunity to photograph anything in these conditions, do not miss out!
Taking photos of misty or foggy landscapes requires technique. So, besides the great photos that you will end up with, it will also help you become a better photographer.
Do it well, and you end up with amazing pictures of fog or mist.


