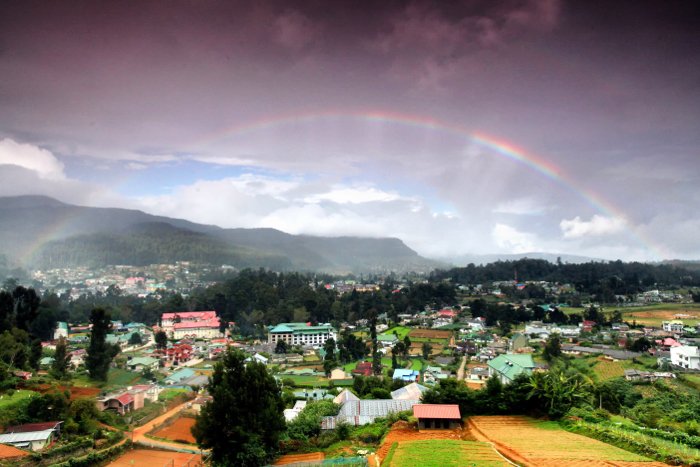
Including rainbows in your images can add an extra level of interest. You’ll need to plan your rainbow photography meticulously, not least because rainbows are relatively rare.
Read on to find out how best to photograph rainbows, and how to increase your chance of seeing them.
![]()
![]()
![]()
![]()
Rainbow Photography: How to Find a Rainbow
Planning to take a photo of a rainbow is tricky, as they’re not around for the majority of the time. The general rule is when you see it’s raining, and there is sunshine at the same time, you’ll see a rainbow.
This is not universally true though. There have been many days I’ve seen this combination while living in South Korea but have not been able to see a rainbow.
Perhaps air pollution affects the formation of rainbows? Certainly South Korea has a problem is this area. So perhaps a third factor needs to be considered, and that’s air quality.
Look for Fickle Weather
Choose a day when the sky is clean, and there are plenty of showers. In the UK, March winds and April showers bring May flowers is a popular saying.
Those days in April where it can go from very sunny to heavy rain in an instant are perfect for photographing rainbows.
You’ll need to find similar days with fickle weather in your own country. This will most likely be during the rainy season.
Venture outdoors on a day like this and you’ll have a decent, but not certain, chance of capturing a rainbow.
Angle of the Sun
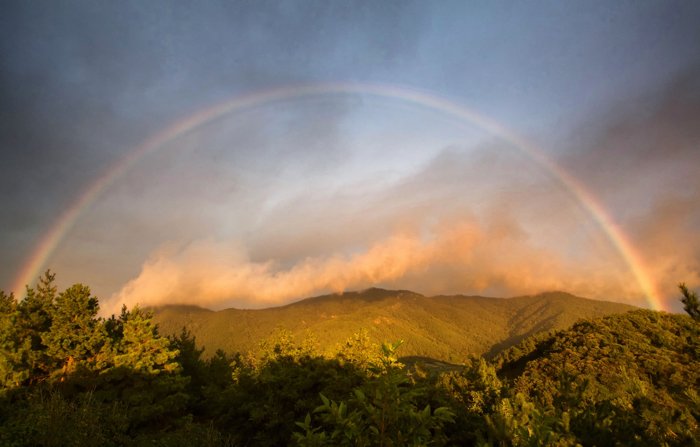
Another factor that can affect your chances of finding a rainbow is the angle of the sun. The optimum angle for the sun is around 42 degrees in the sky. It’s also possible to see rainbows when the sun is lower in the sky.
Rainbows that appear as the sun is setting can look especially beautiful. This is due to the colors in the sky caused by the setting sun.
Finding a Moon-Bow
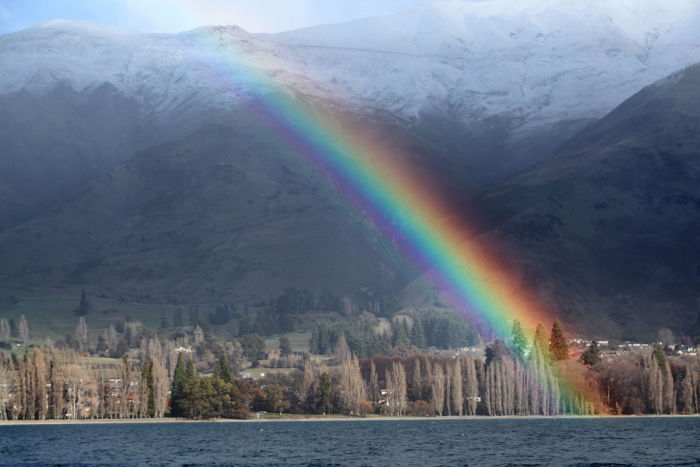
Those looking for certainty with their rainbow photography should look for places where there is a lot of water spray. That means looking for places like waterfalls, where this naturally occurs.
When the sun is shining in the right direction you’ll see a rainbow. An even rarer phenomenon is the moon-bow, caused by moonlight falling on spraying water.
One famous location where this can be seen is Yosemite national park. Yosemite falls can cause a moon-bow to form.
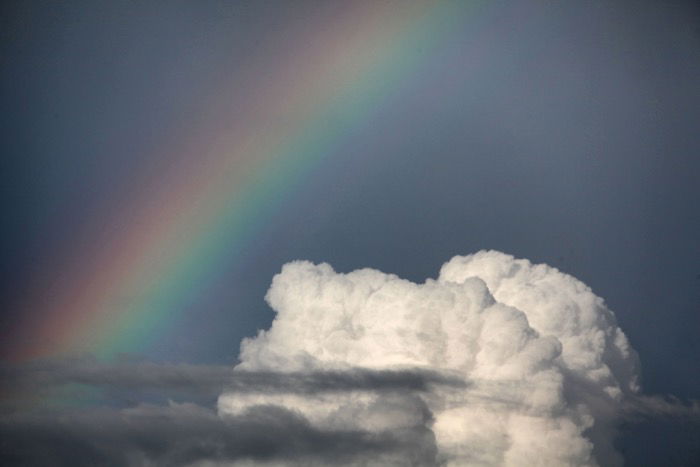
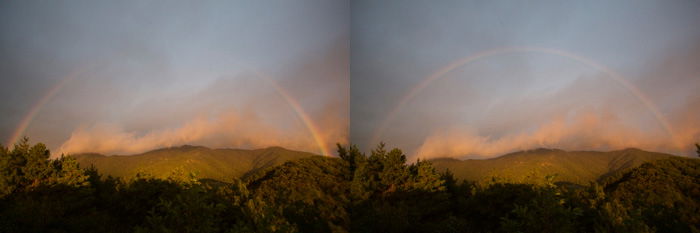
Double Rainbows
When a rainbow is particularly strong it’s possible to see a double rainbow. This will be an outer bow beyond the initial bow. Incorporating this into your photo is a great idea. Repetition will improve the visual quality of your image.
You’ll need a wide angle lens, and a wide scenic photo to take advantage of a double rainbow.

Composition Tips for Rainbow Photography
As with any photo, composition is going to be key to a successful photo. You’re going to want to make the rainbow a key point of focus within your image. Avoid other distracting elements in the frame.
In rainbow photography, you’ll almost certainly have times when you’re not planning to take a photo of a rainbow when one appears. That means you’ll either have a planned or unplanned rainbow photograph.
Planned Rainbow Photography
This type of photo could lead to a really outstanding image. You’ll need to choose a great location, with a foreground element to juxtapose against the rainbow.
You’ll want a big wide angle photo, to include the entire rainbow in the sky. Add an interesting element like a single large tree, or a lake, in the foreground. It’s likely you’ll need to find a good vantage point as well, one that gives you a clear shot of the whole sky.
Use an app such as suncalc to make sure the sun is behind you, and therefore the rainbow will be in front of you. Arrive at your location on a day with quick-changing weather, and hope you’re lucky enough to see a rainbow!
Unplanned Rainbow Photography
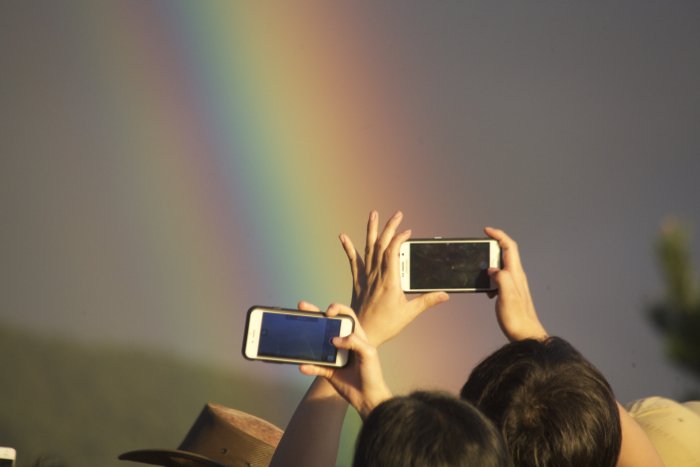
It’s more likely that you won’t be planning to do rainbow photography when one shows up. As you won’t know how long the rainbow will last, it’s worth taking an initial photo of the rainbow, perhaps zoomed in.
You’ll now need to study your location. Can you reach somewhere quickly that will give you an unobstructed view of the whole sky? If so, it’s worth moving to that location.
If that’s not the case, see how you can incorporate foreground elements in your current location. Keep the main focus on the rainbow. At the very least you’ll need to move to a location that gives the rainbow a narrative within your frame.
The Whole Sky or Zoomed In?
There are several ways you can photograph a rainbow, and you may choose to zoom into a section of the rainbow. You can emphasise the entire rainbow with a wide angle lens. Or you can concentrate on the colors of the rainbow by zooming in on a section of it.
Most of what will be talked about in this article assumes the use of a wide angle lens. Using a telephoto lens to compress the background rainbow colors against an interesting foreground element such as a portrait is an alternative.
Artistic interpretation will be up to you.
Enhancing Your Rainbow In-Camera
The way rainbows form means you’ll need to use various strategies to get the most striking photo. It’s quite typical for one side of the rainbow to form first, and be most intense.
This will then be followed by the intensity of the rainbow transitioning across the sky. That means photographing the rainbow at different time points through this transition is the best way to approach this.
In addition to this you can use circular polarising filters to increase the intensity of colors within the rainbow.
- Multiple exposures – Set your camera up on a tripod for the duration of the rainbow, in a fixed composition. Take photos as the rainbow transitions through the sky, and then use layer masking to merge these photos in post-processing.
- Circular polarizing filter – This can be used to further enhance the colors in the rainbow. Rotate it when attached to your lens and you’ll see the results. This will intensify portions of the rainbow while dimming other areas. To get intensity across the rainbow you’ll need multiple photos, with the rotation of the polarizing filter moved for each exposure. Then you’ll need to blend these photos together.
Post Processing Rainbow Photography
Now that you have your rainbow photography finished, it’s time to post process. This is just as important as taking the photo, and a necessity if you’ve taken more than one photo with the intention of blending later.
- Blending images – As described above you may have a selection of images, each with areas where the rainbow is more intense. Use a layer mask in Photoshop to combine these images.
- Increasing saturation – Depending on the intensity of the rainbow, increasing saturation may or may not be needed. Subtle increases work best. It’s also a great idea to localise those changes. Keep them to the rainbow only, for example.
- Increasing details – Increasing the detail within the photo is another way of making the rainbow stand out. Once again look to keep this change to the rainbow only.
- Graduated filters – Apply graduated filters that only affect the sky, and by extension the area of the photo where the rainbow is. Use a graduated filter to darken the sky. This will also intensify the color of the rainbow.
Creating Your Own Rainbow
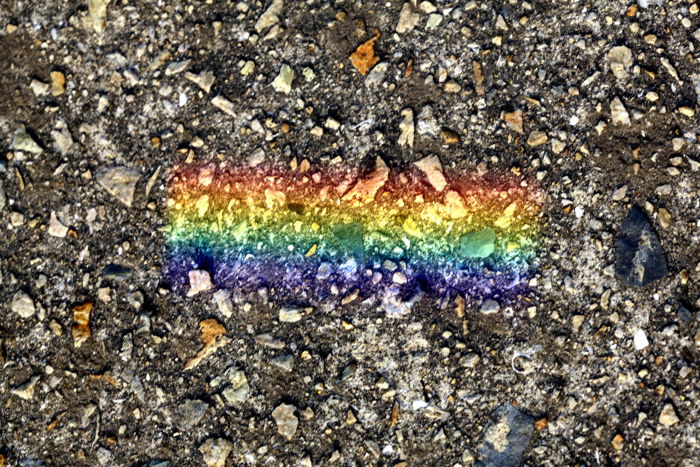
Thus far this article has talked about photographing a rainbow outdoors. It’s perfectly possible to create your own though, on a sunny day. These could be used to project onto a surface, to create a more interesting texture photo.
You could also experiment with projecting a rainbow onto a person’s face, for your portrait work. There are two main ways you can go about creating a rainbow like this.
- Prisms – Rainbows are formed through a process of splitting the light called refraction. A prism can be used to do this on any day you have some sunshine. The rainbow will be small of course, and more of a block of light than an actual bow. This is an interesting effect, and will lead to some creative photos.
- A mirror – No prism? No problem. You can also create a rainbow using a mirror. In this case you’ll need to put a small mirror into a bowl of water to catch the light. Now you can angle the rainbow onto a surface or perhaps a person’s face to photograph it!
Conclusion
Rainbow photography is a lot of fun. When you can capture one in your photo it will add a strong and unusual point of interest. Having read this article you’ll be equipped with the knowledge needed to improve your chances of getting a great photo.
Have you ever photographed rainbows before? What strategies did you employ?
As always we’d love to see your photos in the comments section, and share your thoughts on this fascinating topic.
![]()
![]()
![]()
![]()