Are you in need of a professional headshot for your business or website? If so, then you’re in luck! In this article, we’ll show you seven tips to photographing professional headshots of yourself. We’ll also provide some tips on how to choose the right photographer and prepare for your shoot.

What are Professional Headshots?
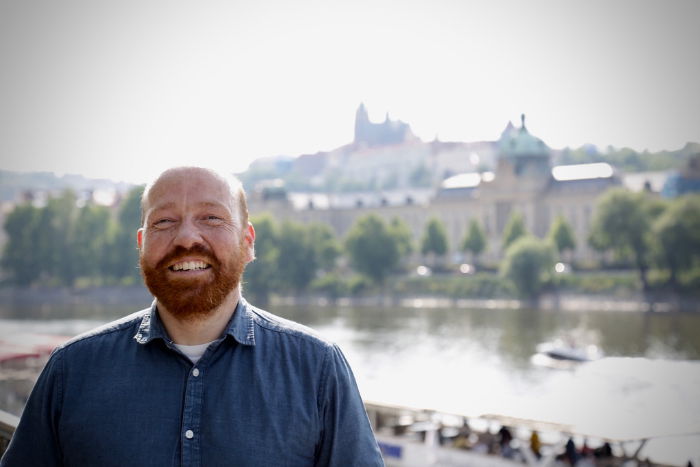
I recently wrote that a good portrait photo is a “capturing of the subject’s essence.” A headshot, on the other hand, is a projection of the subject’s professional personality. Typically it is head and shoulders only.
It might be against a blank background with studio lighting. Or it might include a professionally relevant background. A great headshot is one that communicates the subject’s professionalism. But also something about their character.
Who Needs a Headshot Photograph?
In short, nearly everyone. That’s good news for people who want to make money from their photography. And the truth is, very few smartphones will do the job well. I’ll give you a rundown of the kit you need. Chances are you already have most of it.
Business people need a corporate headshot. Actors and estate agents need the perfect shot. Anyone with a LinkedIn account or a website can benefit from professional headshot photography.
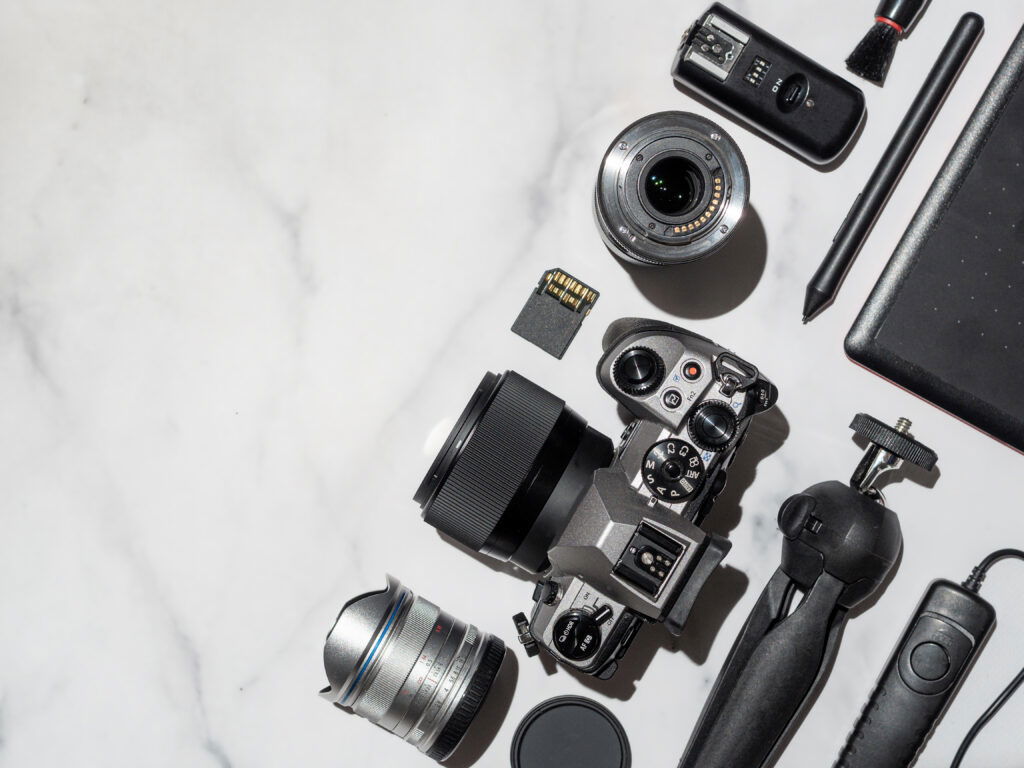
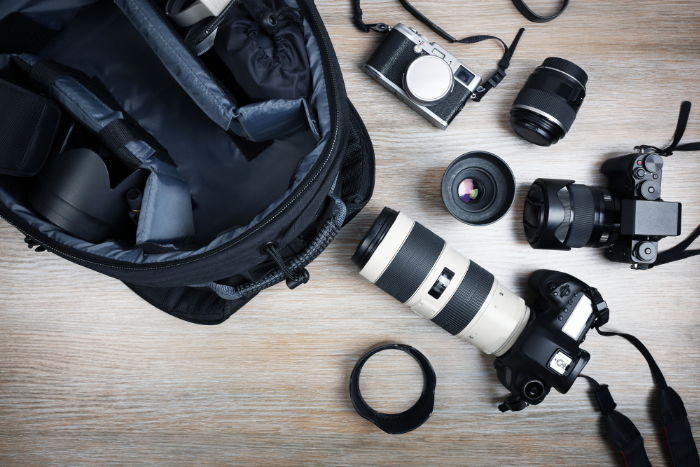
What Equipment do I Need for Headshot Photography?
As I said, if you’re a photographer, chances are you already have everything you need.
Camera
Most smartphones will not be that good at headshot photography. Even something as advanced as an iPhone 13 Pro Max, which has a telephoto lens and portrait mode. You should definitely use a high-quality camera.
You don’t need a full frame DSLR. But a camera with interchangeable lenses will expand your possibilities. There are a few things to look for in the best lenses for portraits. The principles remain the same whichever brand you use.
If you’re using a mirrorless camera, I recommend using the viewfinder. Getting a steady shot is easier when the camera body is pressed against your face. Mirrorless cameras often have generous screen sizes. This helps in checking your shots as you go.
Lens
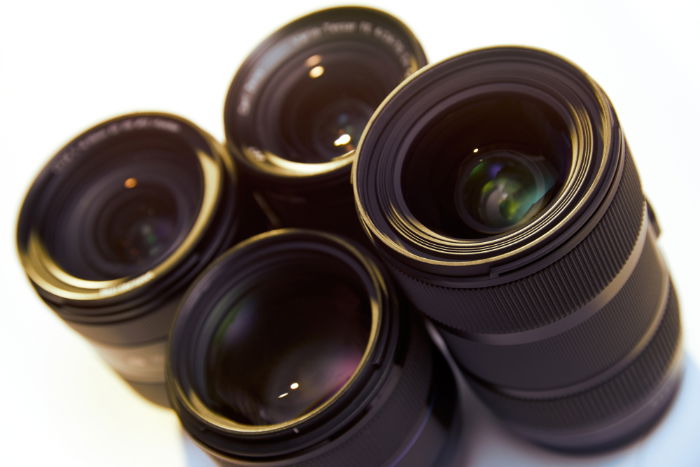
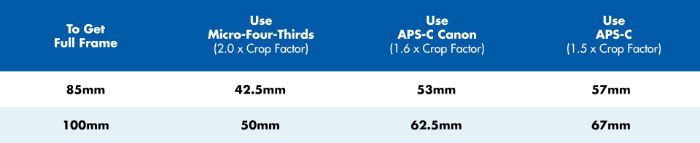
Ideally, a prime lens around 85mm should be your go-to headshot photography lens. To translate this figure for different sensor sizes, check the following table.
The maximum aperture is just as important as the focal length for headshot photography. Having at least an f/2.8 maximum aperture is ideal. This is why a prime lens is more likely to be what you need. You might want to throw the background out of focus with some decent bokeh. So a nice fast lens is ideal.
Lighting
A studio flash setup is ideal if your headshot photography is indoors. But these setups can be pricey. Be cautious about continual light kits. They might not be bright enough to give you the exposure settings you need.
If you’re shooting outdoors, natural light should suffice. But using a good flash carefully can provide an effective fill-in. Remember, there’s no real market for dark and moody headshot photography. A folding reflector can be an advantage in many circumstances. It’s even better if there is someone or something to hold it.
Make sure the white balance is properly set. Ideally, use an 18% grey card. But at least make sure that your camera is catching the color correctly.
Next on my list of headshot photography tips is what you should do even before the headshot photo session.
What Should I do Before the Photo Session?
There are some things you can and should do to prepare for your photo shoot.
1. Get to Know the Client

I know I said that a professional headshot is different from a portrait. But that doesn’t mean it’s an entirely mechanical process. That’s what photo booths are for. You’re offering a headshot photography service to a fellow professional. And you need to establish a relationship and rapport with them.
This starts with finding out what their needs are. It’s really important to meet with the client and discuss their needs. Make sure you have a good selection of suggestions to show them. But encourage them to show you what they need. This is where a tablet is especially useful. They’re easily shared and a better size than a phone.
Two important things to remember are audience and purpose. You need to know who the intended audience is and what purpose the shot serves. The answers to these questions should guide the whole process.
Be prepared to advise. The client will probably have a good idea of what they want. But you are the expert and can advise them accordingly.
2. Discuss and Agree on the Dress Code

Your advice will be important. But hopefully, the client will know what they have and what works for them. If the venue has somewhere they can change, then you can have an outfit change.
3. Prepare the Shot List
There are a million things to think about while you’re taking headshots. Remove one of the anxieties by having a shot list. Decide how many photos the client wants. You can print the list out or have it on your phone.
The client will see that you are keeping to the ideas you both discussed. But keep it flexible. If a new idea pops into your head, run with it!
4. Find and Agree on the Location
Simple studio headshot photography is easy, of course. But the client might want to be at their place of work. Or have some important detail in the background or foreground. There are things you’ll want to watch out for. Things such as lighting, windy conditions, public intrusions, and permission to shoot.
5. Prepare Your Equipment
It seems obvious, but it’s so important. I use a pre-shoot checklist to make sure I don’t forget something. The important things to remember are:
- Batteries are charged
- Memory cards are cleared and have space available
- Flash batteries charged and ready (if applicable)
- Reflector
- Lenses are clean
- Shot list
Now that you’re fully prepared, the photo session is next on the list of headshot photography tips.
What Should I do during the Headshot Photo Session?
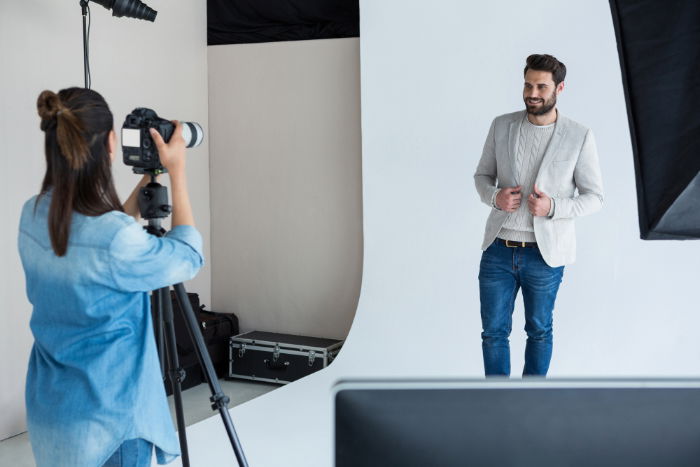
6. Get the Subject to Pose

Let’s face it, most people are uncomfortable posing for pictures. This might be a generational thing. My sense is that Gen Z is perfectly comfortable posing for pics. But even then, they’ll need some guidance. “Duck face” won’t cut it for a professional headshot photo.
You will have to give guidance and direction to your client. “Say Cheese!” isn’t going to cut it. Some sitting poses are also suitable for professional headshot photography.
Square-on poses are rarely successful. Relaxed shoulders shot at an angle is a great pose. Get the client to move into a pose, then shoot. This helps avoid the rigidity of fixed or fake grins in many headshots. You can give a countdown to help.
Help the client relax. Talking and keeping them amused can take their mind off any awkwardness they feel.
7. Use the Correct Camera Settings

As we’ve already seen, a wide aperture will help to keep the focus—literally—on the subject. However, you must ensure that your focus point is on the eyes. This is the target area, and it must be in focus.
Shutter speed needs to be fast enough to ensure there’s no camera shake. The old rule is 1/focal length. So for an 85mm lens, you would need at least 1/80 s. Or for a 200mm lens, use at least 1/250 s. Image stabilization allows some flexibility. It’s important to check for good focus and steadiness while you shoot. Use the magnification feature on your camera to examine this regularly.
You know your camera well. And you should know what ISO settings produce high-quality images. Make sure the lighting enables you to choose the correct ISO, aperture, and shutter speed to meet these needs.
8. Lighting
Natural Light

This can be the best light. An overcast sky floods the subject with soft, even light. Bright sunlight, on the other hand, can cause problems like high contrast, squinting, and getting a wide enough aperture. You can work around these, but they need adjusting.
Have the sun at 45 degrees over the subject’s shoulder. Use a reflector to light the face and reduce contrast. You can use a neutral density (ND) filter to reduce the overall brightness without affecting the color cast of the photo.
Studio Lighting
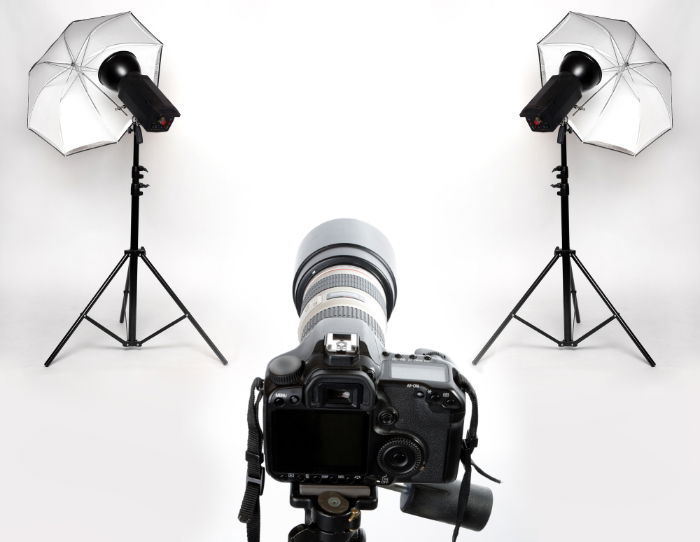
The great thing about studio lighting is control. You have complete control over the light levels and positioning. Studio flash allows you to create different, subtle effects. But it presents challenges as well.
It’s likely you will be shooting at f/8 or smaller. This means the background might be difficult to throw out of focus. And you need to control it well to stop it from looking harsh.
You can overcome the first problem by putting enough distance between the subject and the background. Or you can flood a white background with flash so it burns out.
You can solve the second problem by using the right attachments for the flash. A softbox, at least, is essential. Or use a “beauty dish.” One popular option is a backlight to provide highlights in the hair and some separation from the background.
9. Pay Attention to Detail
When I shoot weddings, I take an assistant. The reason is simple—I’m concentrating on composition, exposure, and camera settings. It’s easy to miss a tie that’s askew or a poorly-arranged dress. And an assistant helps sort those things out.
With a headshot photo shoot, you’re only dealing with one person. And you’re probably physically closer to them. So you don’t need an assistant, but you do need to pay attention to the details.
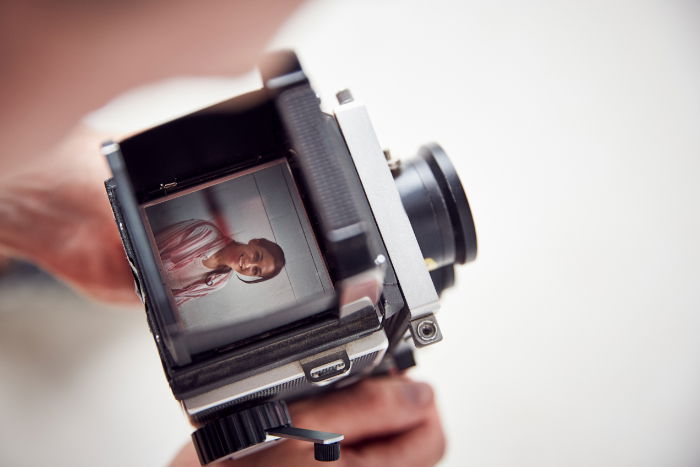
We can learn from old-time medium format photographers. They used to swear that looking down at an image rather than through a viewfinder was better for spotting these things. Develop the habit of scanning the image from corner to corner to check all the details.
Look at the subject carefully before you look through the camera. And review frequently on the screen. Out of the studio, check for objects or people that are in the way.
10. Keep the Conversation Going
It’s easy to become absorbed in the shoot and forget to talk to your subject. Keep a running conversation. Remember they probably aren’t feeling too confident, so keep that encouragement going.
Let them see the shots and listen to their feedback. In the studio, shoot tethered if you have the option. That way, they can see easily what results both of you are getting.
Encourage a little bit of risk-taking. Silly faces, slightly awkward poses. These often look better than the subject fears. My wife thought our wedding photographer was crazy for some of the poses he made her use. But they looked great in the final photos. Remember, if it doesn’t work, it’s no loss.
11. Edit the Final Result

This might not be the most popular of these headshot photography tips. The best editing tool is to get everything right to start with. But being proficient in editing is going to help a lot. You might need to fix the exposure a little or the white balance. The contrast might be too high or low, or you might need to selectively lighten an area. Perhaps shadows around the eyes make the subject look tired. Fix it in post-processing.
More delicately, there might be blemishes to fix. This can be awkward. Don’t say, “Your teeth are stained, so I fixed them.” Do say, “I’ve done some touching up—what do you think?”
Conclusion
Professional headshot photography is a great way to make some money from your photography. If done well, it will be massively appreciated by the client. It can increase their confidence when sending out resumés or CVs. They won’t fear opening their LinkedIn profile or the company website.
Hopefully, these headshot photography tips will give you the confidence to get out there and start taking great headshots.
Check out our Profit from Portraits e-book to learn how to turn your photography work into a thriving business!